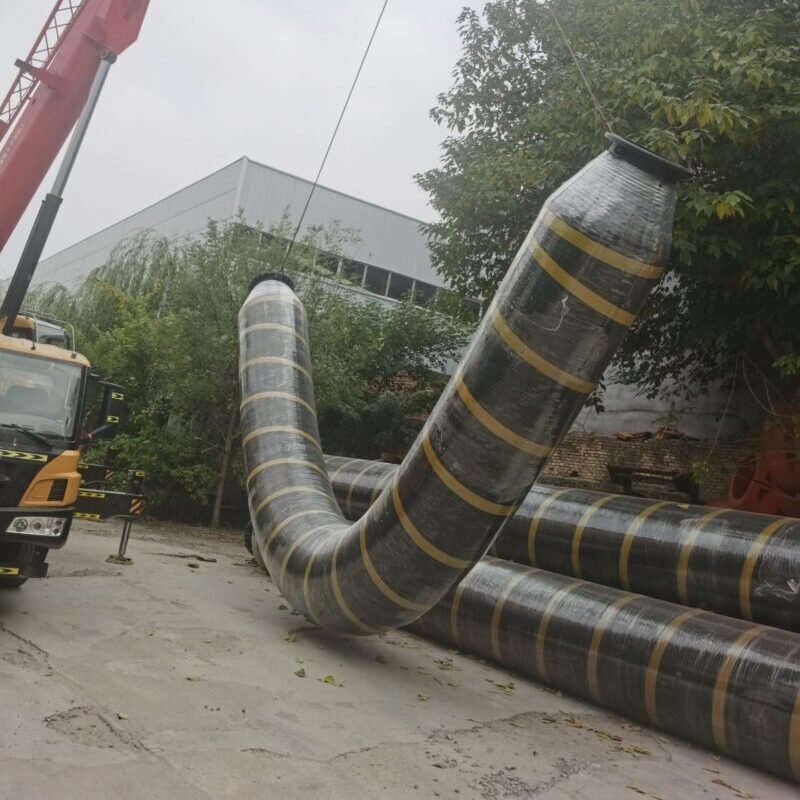
How to testing the buoyancy of self-floating rubber tubes?
Testing the buoyancy of self-floating rubber tubes requires a comprehensive consideration of their material properties, usage environment, and design parameters. Here are detailed testing methods and steps:
1. Define test objectives: • Verify buoyancy performance: Ensure the rubber tube can float and remain stable in specified liquids (such as water or seawater). • Quality control: Check if production batches meet buoyancy standards. • Design optimization: Provide data support for improving materials or structures.
2. Pre-test preparation: • Sample information: Record the rubber tube’s dimensions (outer diameter, inner diameter, length), material density, and internal structure (e.g., whether it has fillers or reinforcement layers). • Test environment: Select liquid medium (such as freshwater or saltwater) and measure its density (freshwater at room temperature ≈ 1,000 kg/m³, seawater ≈ 1,025 kg/m³). • Tools required: ◦ Electronic scale (with at least 0.1% weighing precision). ◦ Graduated cylinder or tank (large enough to fully immerse the rubber tube). ◦ Ruler, thermometer (liquid temperature affects density). ◦ Force sensor or spring scale (optional, for dynamic buoyancy tests).
3. Buoyancy testing methods Method one: Displacement method (Archimedes’ principle): 1. Weighing method: ◦ Steps: 1. Measure the weight of the rubber tube in air (W_air, unit: N or kg). 2. Fully immerse it in the liquid and measure the apparent weight (W_liquid, excluding surface tension effects).
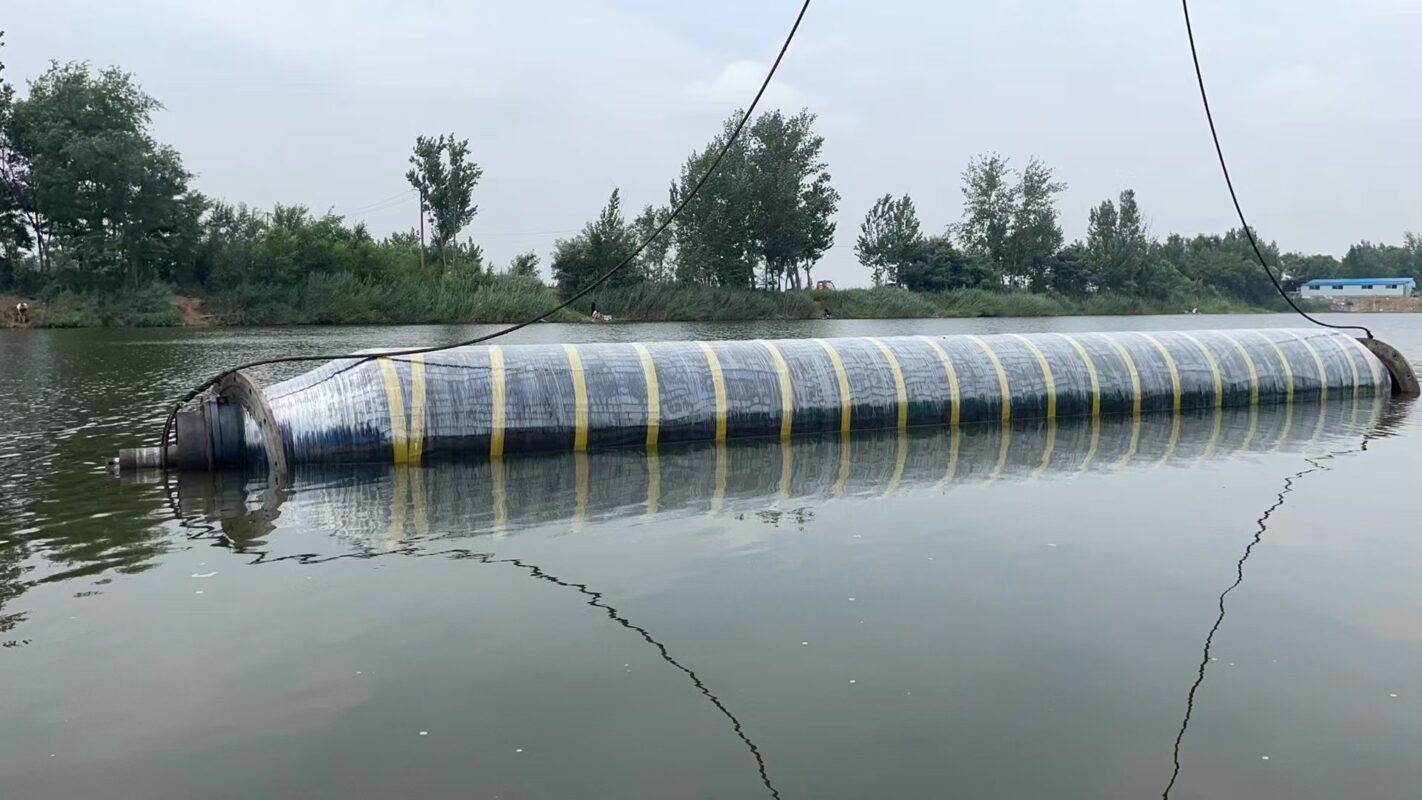
3. Calculate buoyancy: F_buoyancy = W_air – W_liquid. ◦ Notes: ■ Ensure the rubber tube is fully submerged with no air bubbles attached. ■ If the tube is too long, test in sections and sum the data. 2. Displaced volume method: ◦ Steps: 1. Place a filled graduated cylinder in an overflow tray, insert the rubber tube, and collect the displaced liquid volume. 2. Buoyancy calculation formula: F_buoyancy = ρ_liquid × V_displaced × g (ρ is the liquid density, g is gravitational acceleration). Method two: Equilibrium state test: • Applicable scenario: Testing the self-floating stability of the rubber tube at the liquid surface. ◦ Place the rubber tube freely on the liquid surface and observe: ■ Float height: Measure the proportion exposed above the liquid surface (compare with design values). ■ Tilt or sink: Determine if buoyancy distribution is uniform (may need to test in sections).
4. Key parameter calculations: • Theoretical buoyancy verification: ◦ Calculate the tube volume (V_tube) and material volume (V_material), buoyancy should satisfy: ρ_liquid × V_tube × g ≥ ρ_material × V_material × g. ◦ If there are air cavities, calculate the buoyancy contribution of the air separately. • Safety factor: ◦ Actual buoyancy should be ≥ 1.5 times the design load (such as additional weight when carrying cables or fluids).
5. Dynamic performance testing (optional): • Wave simulation: Create waves in a water channel to observe the rubber tube’s wave-following performance and buoyancy loss. • Durability testing: Re-test buoyancy after long-term immersion to check the effect of water absorption on buoyancy.
6. Data recording and reporting: • Record test conditions (temperature, liquid density, sample number). • Compare theoretical values with measured values, analyze deviation reasons (such as manufacturing errors, uneven material density). • Provide conclusions: Whether buoyancy requirements are met, or provide improvement suggestions (such as increasing foam layer thickness).
Notes: • Temperature control: Liquid density changes with temperature, requiring calibration. • Surface treatment: Ensure the rubber tube surface is clean, free from oil or air bubbles. • Safety precautions: Follow safety guidelines during testing.